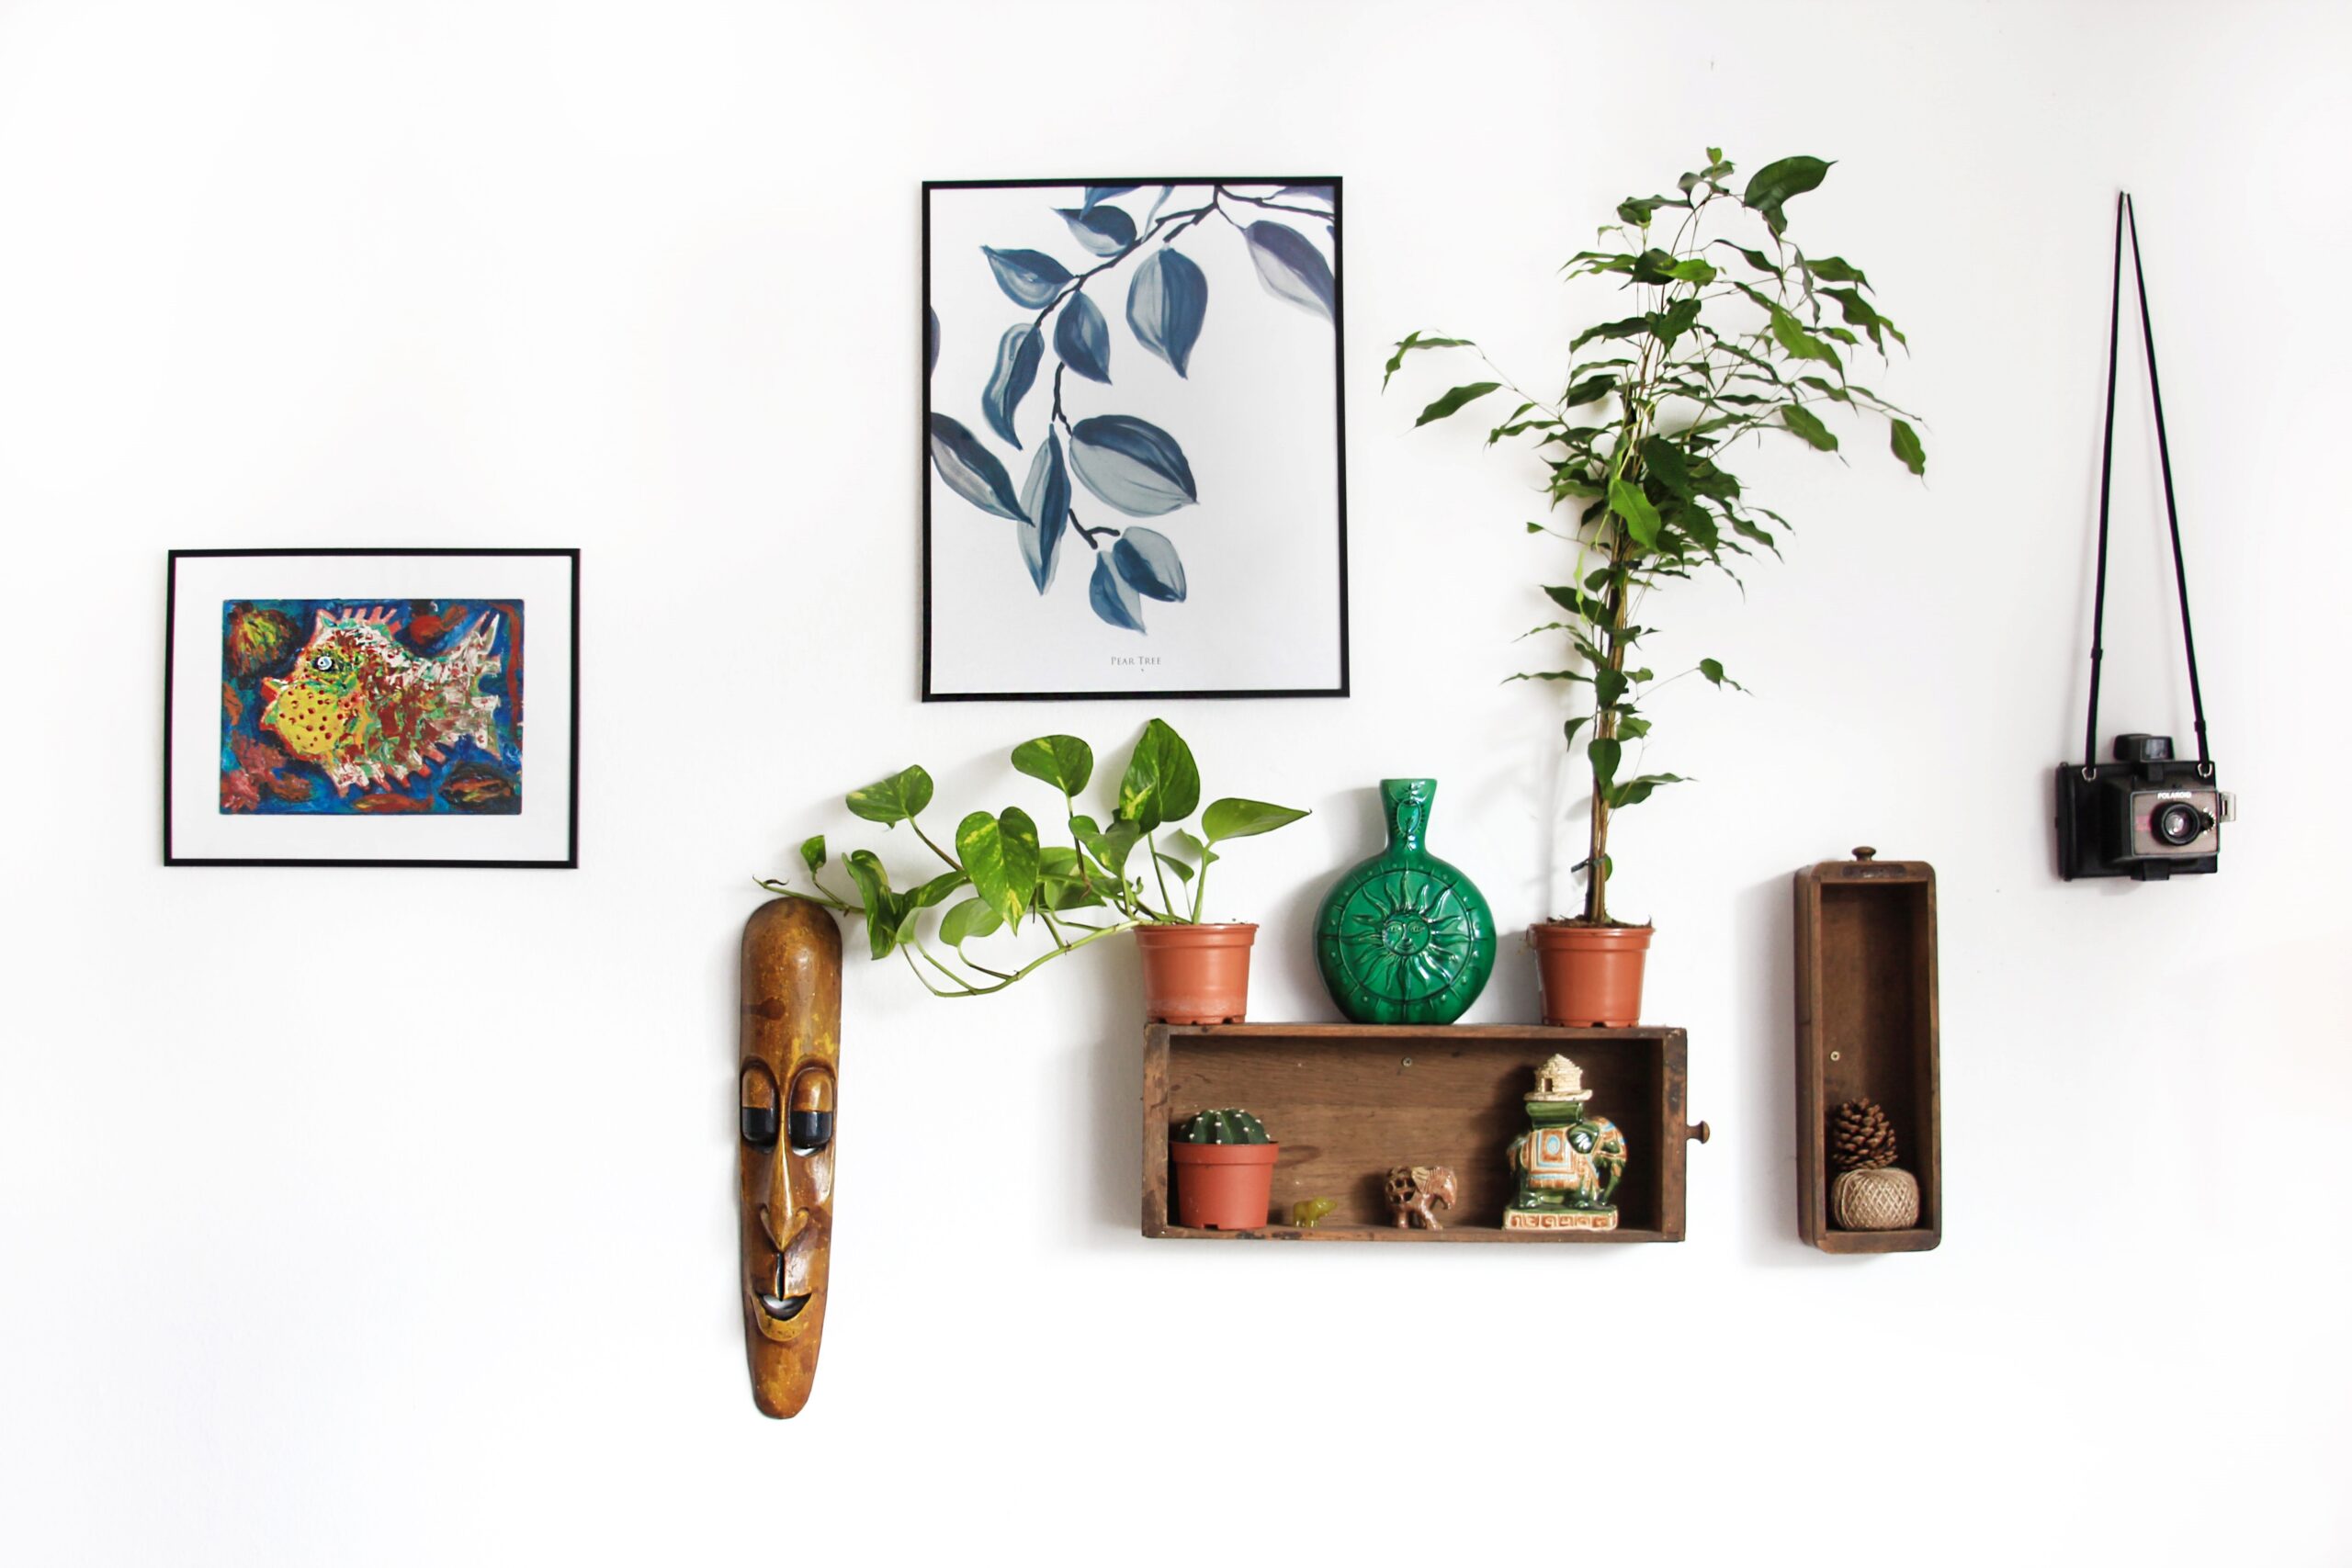
There’s nothing like the beauty of wall art that makes a house feel like home, even if you are living in a rented house. While most landlords add a clause in the lease that you are not allowed to drill, others say it’s alright, as long as you patch up the holes.
If you plan to decorate your seating room with wall art, make sure that your contract allows you to do it. One of the main problems to consider is minimizing damage.
When you are hanging something on the wall, you often guess the center and drill into the drywall. This guesswork results in multiple holes, and the painting is either too high or too low. The “57 Rule” of hanging wall art comes in handy in such scenarios.
Learning About The “57 Rule”
The “57 Rule” is a scientific standard that allows you to hang art at the perfect angle. The rule states that any painting or frame should be 57 inches from the ground. This height puts the artwork at eye level.
By using this rule to hang all your art, you create harmony and balance in your art collection. The number 57 is considered the average approximate eye height. Art in museums and galleries is displayed using this rule. Moreover, interior designers also follow it when implementing their ideas.
It might take you a while to understand the 57 Rule but consider this: It’s better to use a measuring tape to make sure your art is at a perfect height than tilted frames that make you itch to fix them! These are some simple guidelines to achieve this wall art hack.
Things You Will Need
-
A Soft Pencil
-
Measuring Tape
-
Painters Tape
-
Ruler
-
Ball of String
Step #1
Use the measuring tape to find out how far above 57 inches is from the ground. Use a soft pencil to make a mark.
Step #2
Measure the height of your art and divide it by 2. If your painting is 26 inches, 26 / 2 = 13 inches. Use a soft pencil to mark the center on the back of the frame.
Step #3
Measure the height of the picture frame from the top and subtract it from the center of the art. For example, if the picture frame is 4 inches, 13 – 4 = 9 inches.
Step #4
Add the number you got after subtracting the picture’s center and the frame’s height. The number you get is where you should install your picture frame. For example, 57 + 9 = 66 inches.
Step #5
Use a monkey hook to pierce the drywall. Twist it around and push it in until the curved part is left out. You can now hang your picture.
Make sure the frame is at least 8 inches from any furniture when hanging your art. The frame’s edge should be in line with the top of the furniture. You can go a little higher than 57 inches in this case, but only a few inches.
There you have it ― an easy way to install wall art that looks aesthetically appealing.


